Shape Builder reference
Font Shapes is where you draw and manage decorative pieces: dividers, corners, frames and geometric units. Everything you save here shows up in the editor's Font Shapes panel, ready to drop on the page with one tap. The builder works on the Free plan, and how many shapes fonts you keep follows your plan, as set out in the pricing section on the home page.
The toolbar and the two modes
Active font shows which shapes font you are working on, and switches between the ones you have.
New font creates an empty shapes font for you to start filling.
Open editor takes you to the editor so you can try your shapes on a real page.
There are two modes: Library, where you manage shapes, and Shape, where you draw and set up a single one.
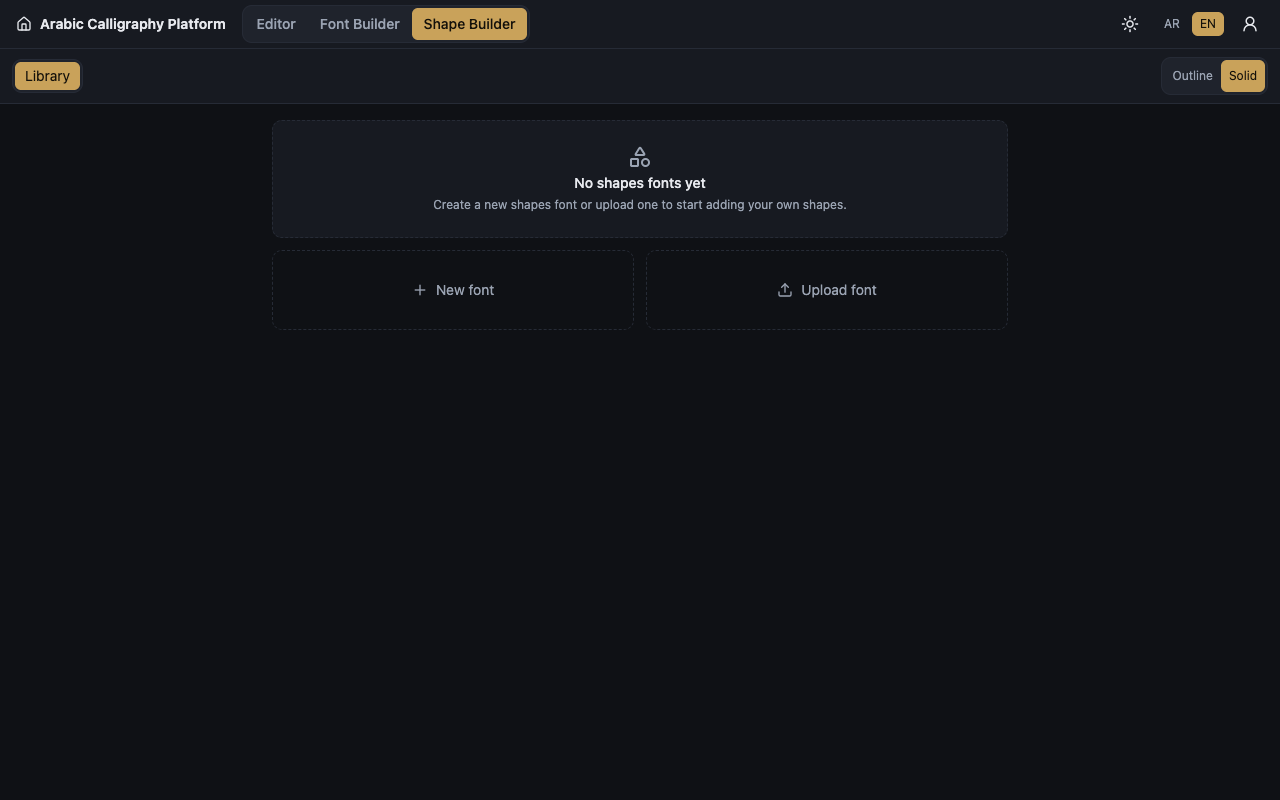
The Library
Add shape starts a new shape and takes you into Shape mode.
Upload font reads shapes out of a ready .ttf or .otf file: drop the file or click to choose it, the app reads it and tells you how many shapes it found, then you give it a Font name and press Add to library. If the file cannot be read it says Couldn't read that font. How many shapes fonts you may keep follows your plan.
Before the font holds anything, the library says No shapes yet. Add one or upload a font. Before you have any shapes font at all, it says No shapes fonts yet and points you at creating or uploading one.
Filtering the grid
Search shapes filters the grid by name as you type.
All categories is a dropdown that narrows the view to one category. The categories come from what you typed in the Category field when saving each shape, so the dropdown only appears once the font actually has some.
Show filters by state: All shapes, Only edited, and Only originals. The last one is useful after uploading a font, to see what you have not touched yet.
Each cell in the grid carries the shape's outline, its name and its category, with the actions Edit, Duplicate, Delete and Preview.
Shape mode: the three steps
The shape editor runs in three numbered steps, with the Save button at the top of the page becoming available once the shape is ready. Back to grid returns to the shapes of the same font, and Back to library goes out to the font chooser.
Step one, Import, decides where the shape's outline comes from, with the same four sources as the Font Builder: Paste SVG, SVG file, Image and PDF. An image or a PDF page is traced into a vector outline, and the Quality controls tune that trace.
Step two, Canvas, shows the shape large: accept the imported result, and drag the attachment point handles to set where it connects, with zoom and pan for the detail. Under the canvas sit the outline refining sliders, Smoothing, Zigzag cleanup and Pen weight, with Reset to original. They adjust the outline only, and never move the attachment points or the width.
Step three, Clean up, gathers the one-click tidy-ups, each with a Before and After preview and each undoable: Round coordinates, Smooth, Tidy path text, Recenter to origin, Normalize to em, Fit to size and Recompute bounds.
The shape's details
Step three also holds the details card, which is what tells one shape from another in the library.
Name is what appears in the grid and in the editor's Font Shapes panel, and it is what the search field looks through. Pick something you will recognise later.
Category is a free label you write yourself, and it is what builds the All categories dropdown in the library. Leave it empty if you do not want to file the shape.
Letter width is how much room the shape takes, which affects how it spaces against its neighbours.
The attachment points set where the shape connects. The entry and exit points are always there, and the mark and dot points are added or removed as the shape needs them. Each point has a horizontal and a vertical value, set by number or by dragging on the canvas.
Save commits the shape into the shapes font, and it appears straight away in the library and in the editor's Font Shapes panel.