Layers, guides and alignment
Three tools organise the work rather than change how it looks: the Layers panel for what sits above what, guides and rulers for fixed places on the page, and Align and distribute for setting objects against each other.
Layer order
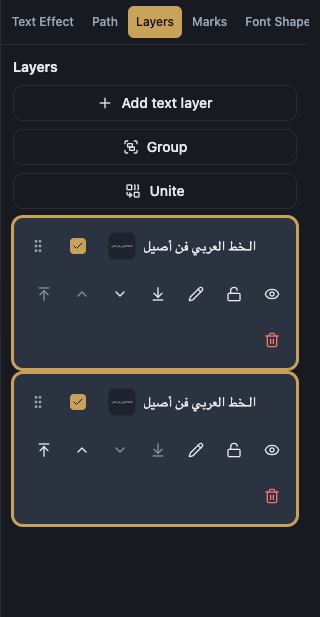
The Layers panel lists everything on the page, and the row at the top is the one drawn on top.
Four commands change the order: Move up, Move down, Bring to front and Send to back. There is also Drag to reorder on the row handle, and it works from the keyboard: press space or enter to pick the layer up, move it with the arrow keys, then space or enter to drop it.
Naming, locking and hiding
Rename layer gives each row a name you recognise, which matters in a crowded project. Delete layer removes it, and Add text layer starts a new text layer from the panel itself.
Lock protects a layer from being moved or edited, and Hide takes it off screen without deleting it. Both work on a group as well as on a single layer.
Groups and uniting
Group makes several layers one unit that moves together, Ungroup takes it back, and Remove from group pulls one row out. A group collapses and expands in the panel.
Unite goes further than grouping: it merges several shapes into one shape that appears as United shape.
Aligning and distributing
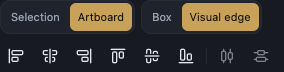
The top of the Properties panel holds six align actions for edges and centres, plus Distribute horizontally and Distribute vertically.
Align to picks the reference: Selection to line objects up against each other, or Artboard to line them up against the page.
Align by matters more than it looks in Arabic calligraphy. Visual edge is the default and aligns by the visible ink edge, so it hugs rotated and curved shapes. Box aligns by the bounding box instead.
Grid and rulers
The View menu turns on Grid and Snap to grid, so objects stick to the grid lines. Equal spacing guides show equal-gap hints while you drag.
Rulers appear on both edges, and Ruler unit chooses pixels, points, millimetres, centimetres or inches.
Guides
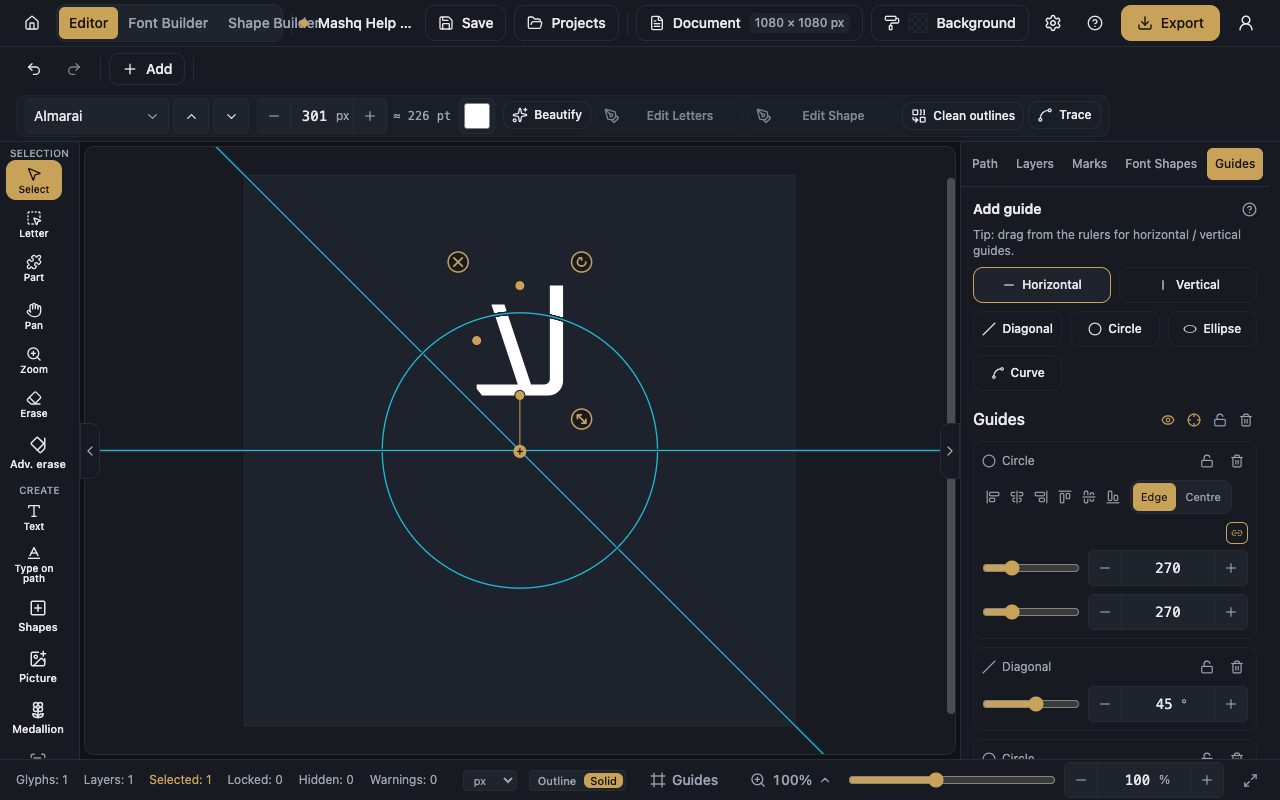
A guide is a reference line that never appears in an export. The quickest route to a horizontal or vertical guide is dragging from a ruler, and the other kinds come from the panel buttons.
There are six kinds: Horizontal, Vertical, Diagonal, Circle, Ellipse and Curve. Each one can be placed by number with X position, Y position, Angle, Width radius and Height radius, and a chain link keeps a circle or ellipse proportional while you resize it.
Align this guide to the page puts a guide on a page edge or in the middle, and How it meets the edge decides whether its outer edge touches the page edge, so it stays fully inside, or its centre lands on the edge, so it straddles it.
Turn on Snap to guides for objects to stick to them. Lock guide pins one so it cannot be moved or deleted, and Clear all removes every guide.
Worth knowing
Aligning needs two or more objects, and distributing needs three or more.
A locked layer cannot be reordered until you unlock it, and a locked guide cannot be deleted until you unlock it.
Aligning to the artboard needs a page size, so set one in Document first.