A tour of the screens
The site has four screens: the home page, the Editor, the Font Builder and the Shape Builder. This tour introduces each one and shows how to move between them.
The home page
The top bar holds Features, What sets us apart, Pricing and Help. On a small screen they all live inside Menu.
Before you sign in you see Start free and Log in. After you sign in those give way to Go to editor, and a Your tools row appears with links to the three tools.
Further down, the Pricing section lists every plan and its price, with a Billing cycle switch between Monthly and Yearly. The bottom of the page carries the legal pages and the Help link.
The Editor
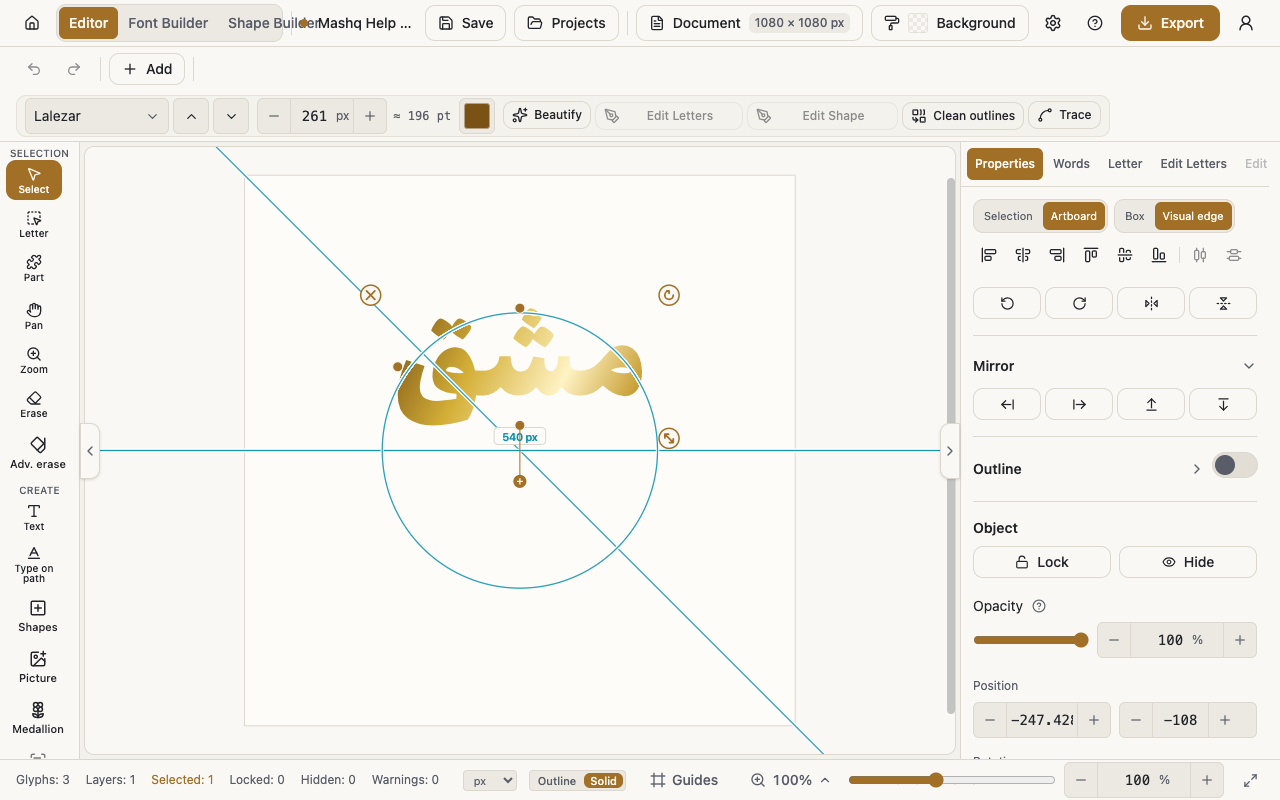
The Editor is where you design, and its screen has five areas.
The top bar: Projects opens your project list, the current project's name sits beside it and can be clicked to rename it, Document sets the artboard size, Background paints the page, and then come Save, Export and your account menu.
The tool rail down the side: it is grouped under Selection, Create and Adjust, and holds tools such as Select, Letter, Part, Text, Shapes, Picture, Kashida, Join and Erase.
The options bar above the canvas: it changes with whatever is selected. It carries the Add menu, which gathers every way of putting something new on the page, along with Font pack, Font size, Color, Beautify, and the Undo and Redo buttons.
The side panels: twelve of them, each opened by its tab. They are Properties, Words, Letter, Edit Letters, Edit Font Shape and Outline, Clean outlines, Text Effect, Path, Layers, Marks, Font Shapes and Guides.
The status bar: live counters for Glyphs, Layers, Selected, Locked, Hidden and Warnings, plus Zoom and the Guides and Snap menus.
The Font Builder
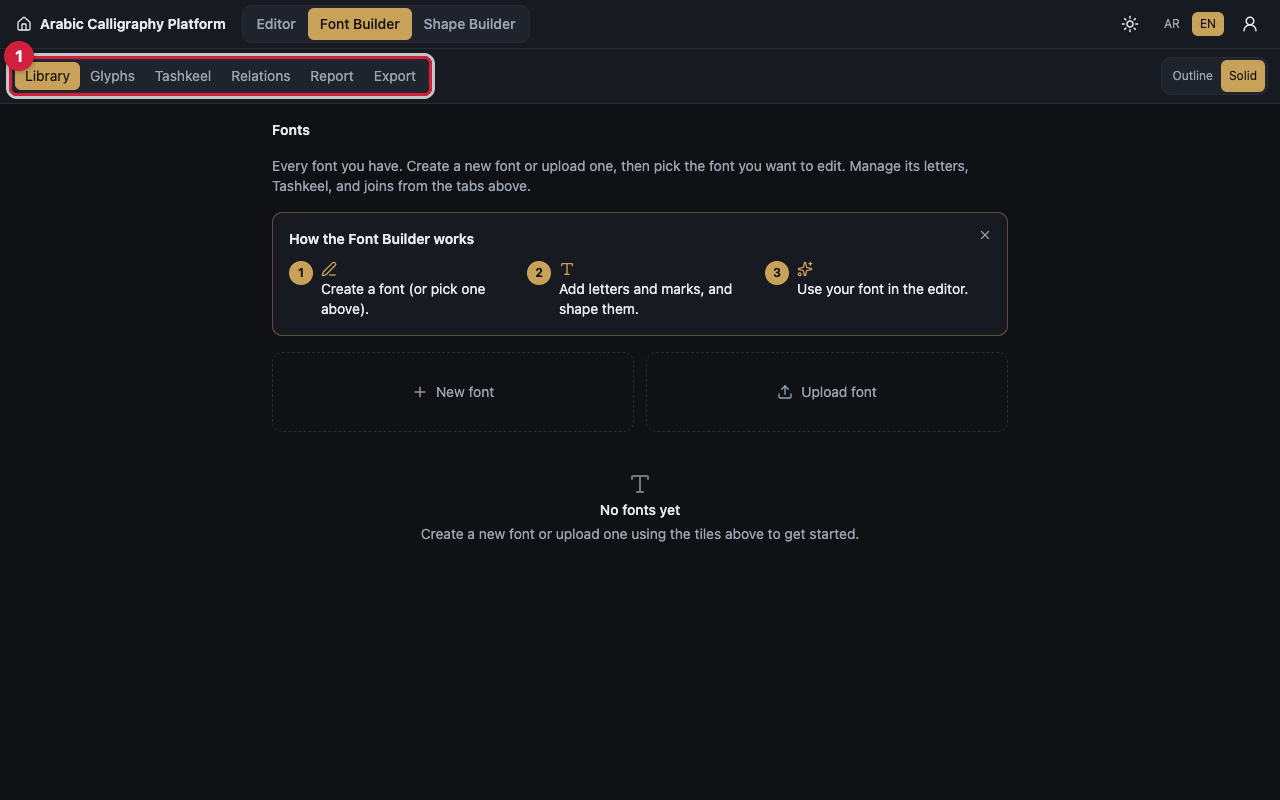
This is where you build your own font or manage the fonts you uploaded. The screen has six modes, switched from a bar along the top: Library, Glyphs, Tashkeel, Relations, Report and Export.
You start in Library to create a new font or upload a .ttf or .otf file. Then you shape letters in Glyphs, build marks in Tashkeel, set up joins, ligatures and kashida in Relations, read the font's health in Report, and download the pack from Export.
The Shape Builder
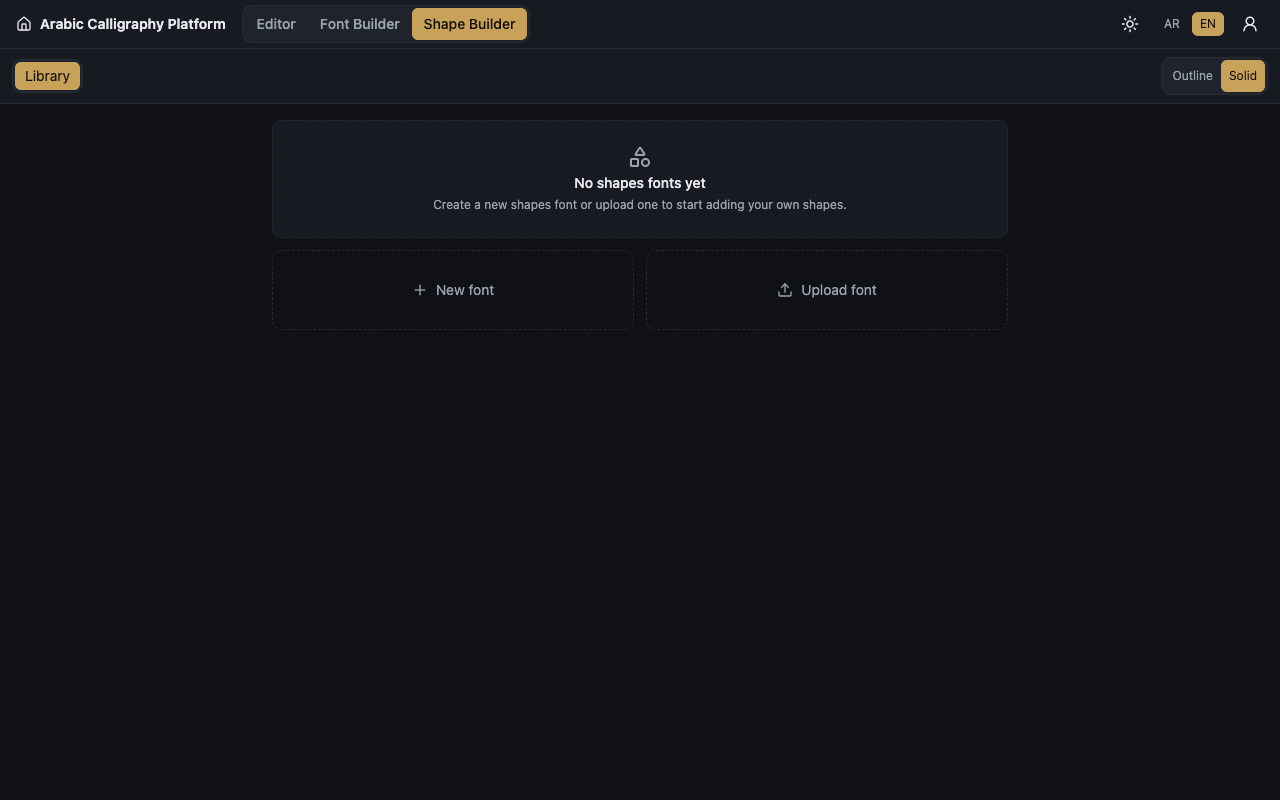
This is where you draw the decorative pieces you later drop onto the Editor's canvas from the Font Shapes panel.
The screen has two modes. Library holds all your shapes with search and filters, and Shape is the editor itself, which runs in four steps: Import, then Canvas, then Clean up, then Advanced.
Moving between the screens
From the home page: the Tools menu in the top bar holds Editor, Font Builder and Shape Builder, and the Your tools row does the same once you are signed in.
From inside a tool: open your account menu and pick Back to website to return to the home page, or Sign out to end the session. The same menu holds Theme, Language, Keyboard shortcuts and your Current plan.
Help is one click away: the Help link at the bottom of the home page, the help button in the Editor's top bar on a computer, and a Help row inside the account menu on a phone. Either way the guide opens in a new tab, so your work stays where it is.