Fit text inside a shape
You can pour a sentence into a circle, an oval, a square or a rectangle so it fills the outline neatly, and the text stays editable afterwards. This works on every plan.
What you need
Two layers, no more: a text layer with something typed in it, and one supported shape. Circles, ovals, squares and rectangles are supported.
- Put the text and the shape on the page.
- Hold Shift and click both objects on the canvas so both are selected.
- Pick the Fit shape tool. The Fit inside shape card appears.
- Choose the Layout you want.
- Set the Inner margin, the Text height and the Line spacing.
- Press Apply.
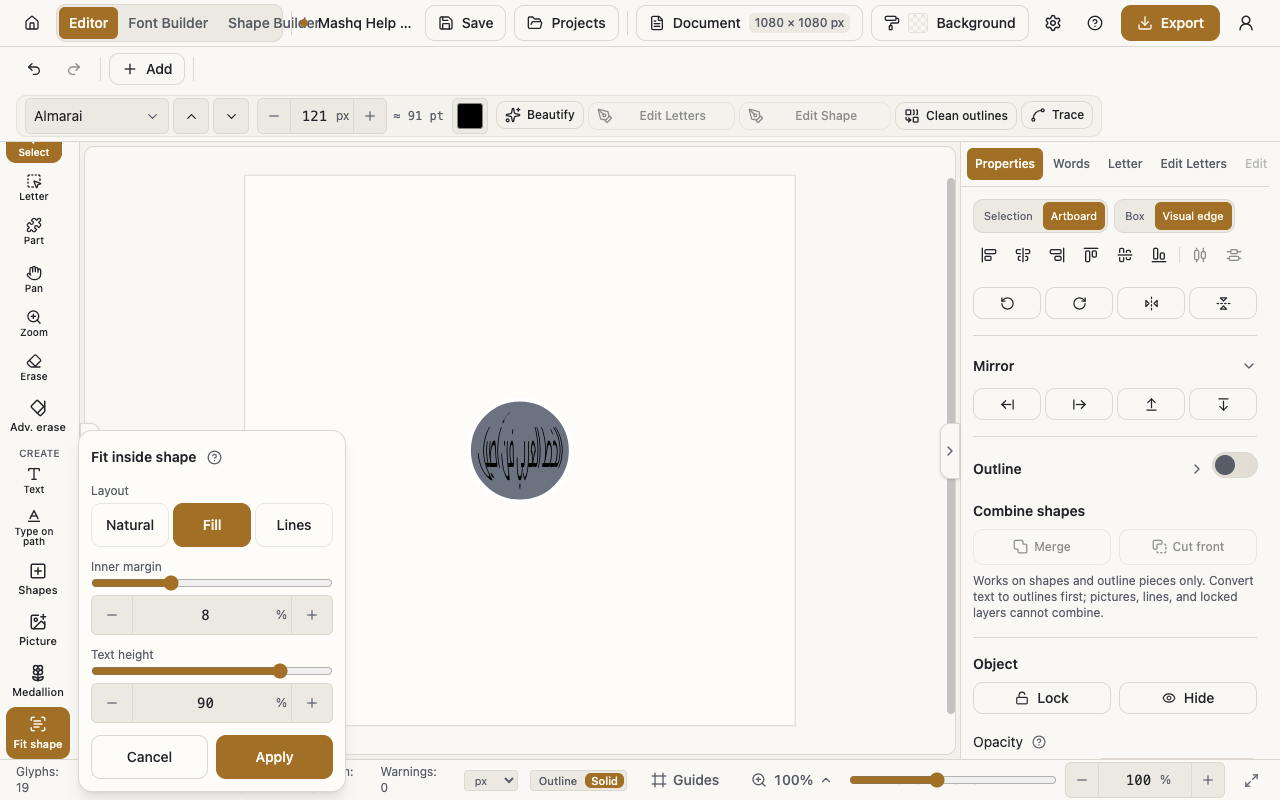
The three layouts
Natural keeps the letters' true proportions, on one line.
Fill spreads the text sideways to use more of the shape, also on one line.
Lines breaks the sentence into lines that fill the shape, with kashida lengthening the joins to reach each edge. This is the one for longer sentences.
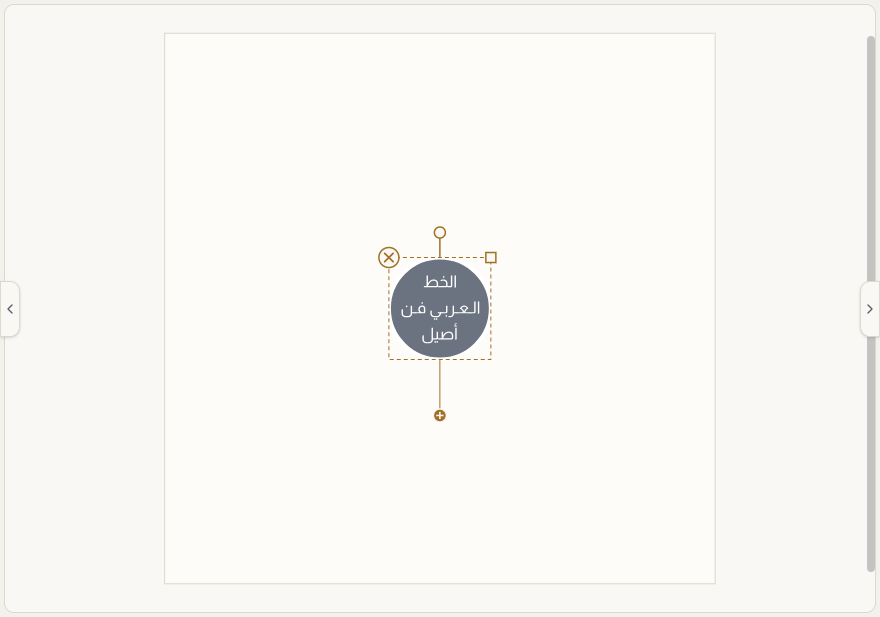
The settings
Inner margin holds the text back from the edge of the shape. A little breathing room usually reads better.
Text height makes the letters larger or smaller inside the space.
Line spacing opens out the gap between lines, and it works with the Lines layout.
Everything previews live as you move the controls, and the text stays editable once you apply.
When the fit is refused
Select exactly two layers: one text layer and one supported shape.
Type some text in the text layer first, since an empty layer cannot be fitted.
Unlock both layers, and show them if either one is hidden.
Use straight text. Curved or already fitted text is not supported.
If the fit fails, wait for the font to finish loading and try again.